Setting a default geography when you make a new report is a helpful starting point. Orienting your data, visualizations and maps around a geography that is familiar to you will set you on the easiest path to great data storytelling.
Notes to remember
- You can always adjust the geographies of individual maps or charts as needed.
- Default geographies can be both mySidewalk geographies and custom geographies.
- You can have more than one default geography in your report or dashboard.
- Maps and pie charts focus on the top geography in the list.
Set your default geography
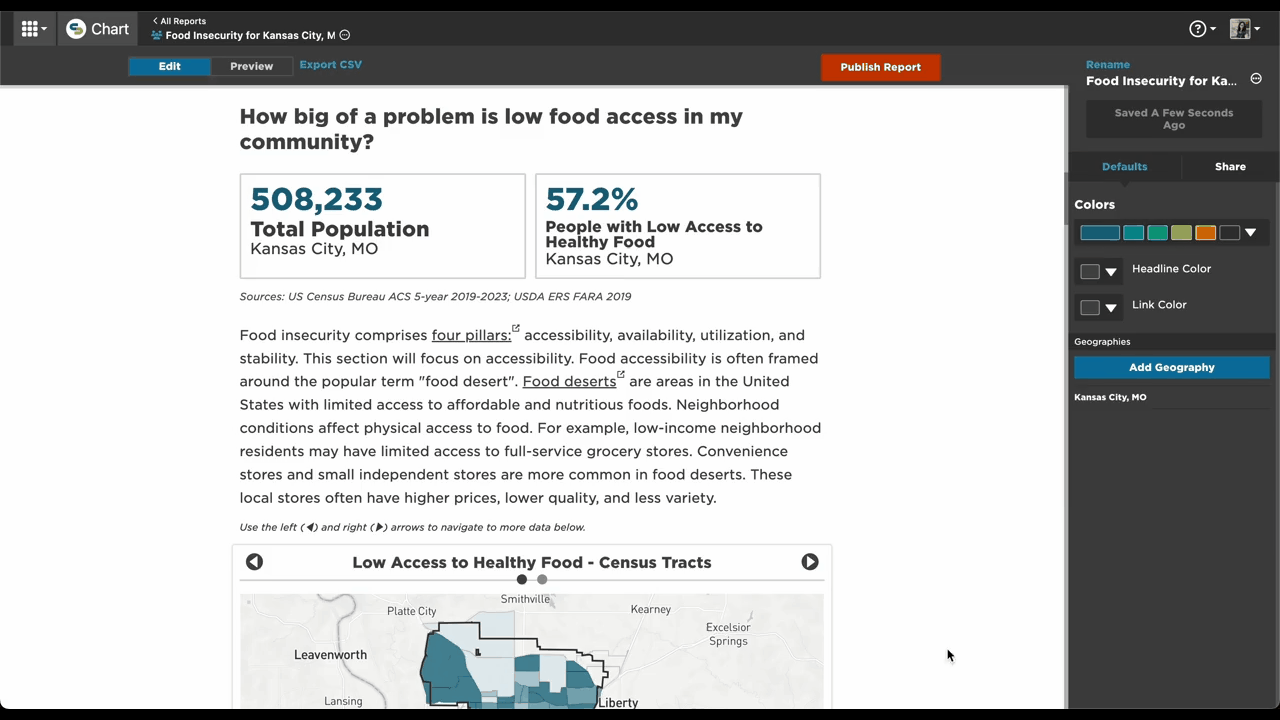
When you start a new report (from a template or blank), you will be asked to choose a default geography. To change that default or add more geographies, follow these steps:
- Open the Defaults Panel: Look at the right side of the page.
- Click “Add Geography.”
- Search for the Geography: Use the search bar or map to find and select the geography you want to add.
- You can add more than one.
- Confirm Your Selection: Once you’ve selected your geographies, click “Finish Selecting.”
You can use the pencil icon to edit, the trashcan icon to delete, and the double bar icon to rearrange the order of geographies.
Tip: If you're displaying multiple geographies, put the smallest area first to ensure it is prioritized in visualizations.
Troubleshooting: "No data" or "unavailable" when selecting data
If you see "no data" or "unavailable" messages in your data selection or components, try selecting a different geography.
Data availability varies by geography.
- For example, data might be available for some ZIP Codes but not all. Some data sources may be available only at county level or higher.
- If you’re using a city as your default and some components show "no data," try switching to a county or state for those components.